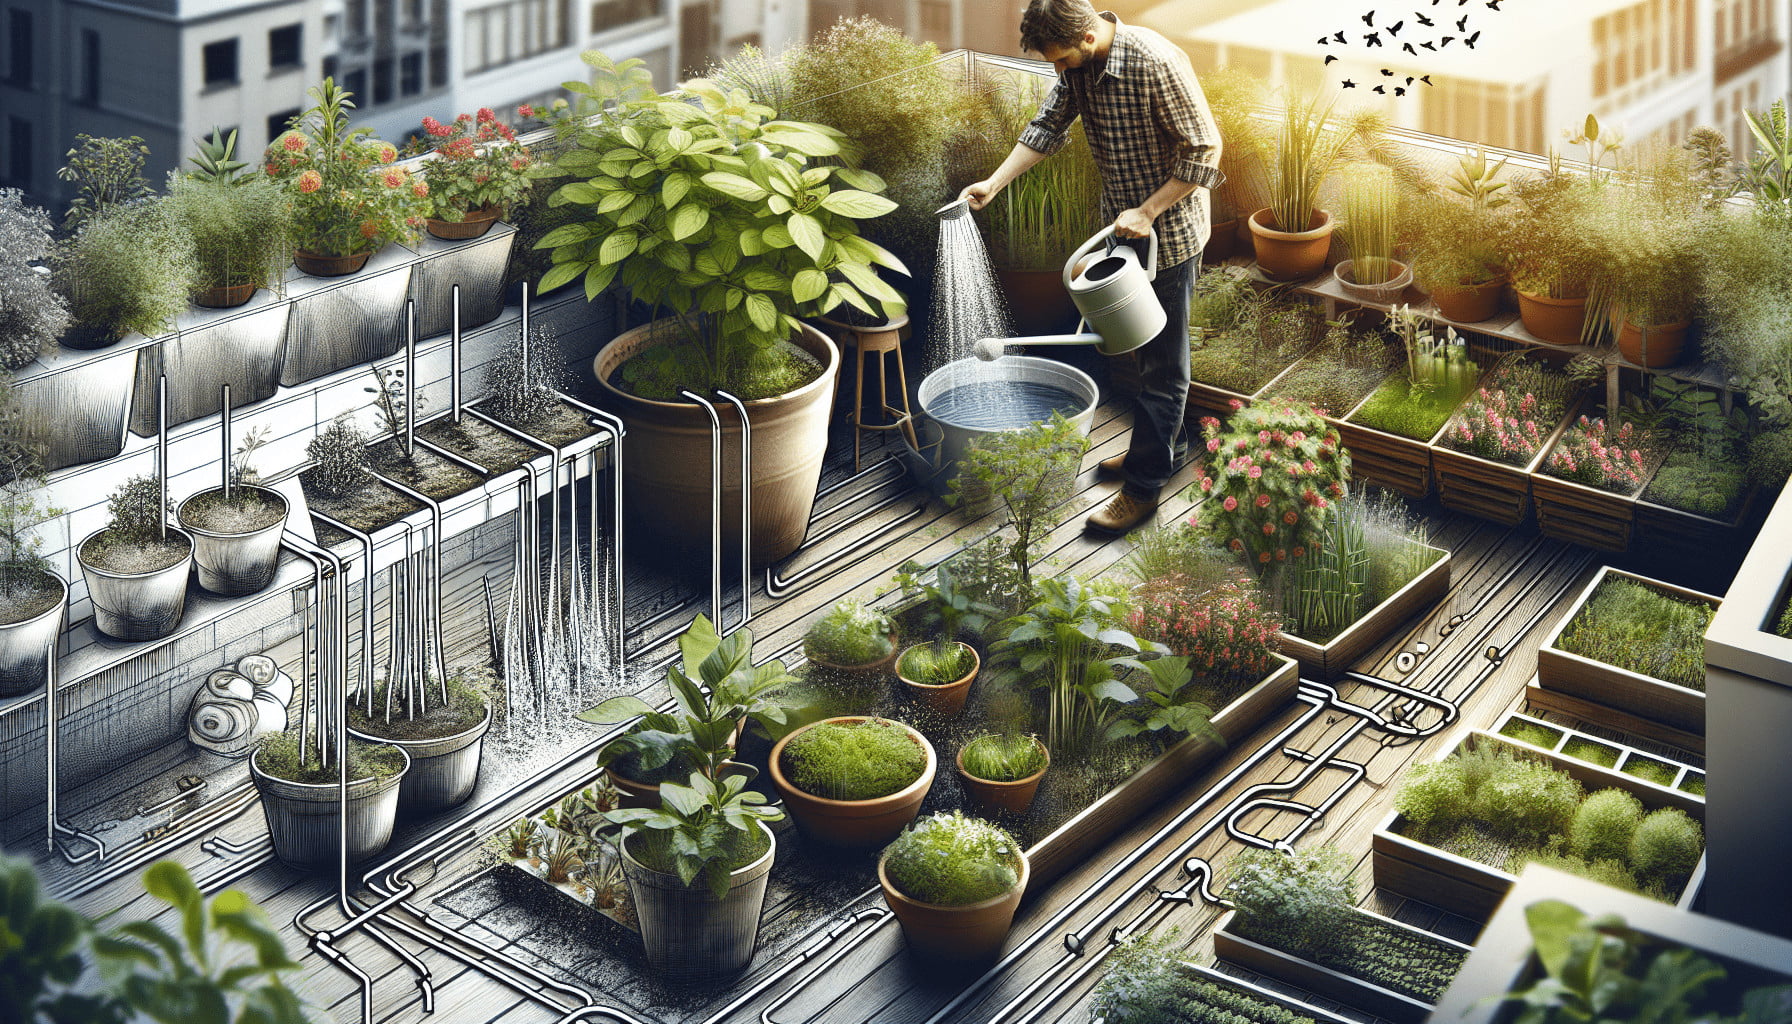
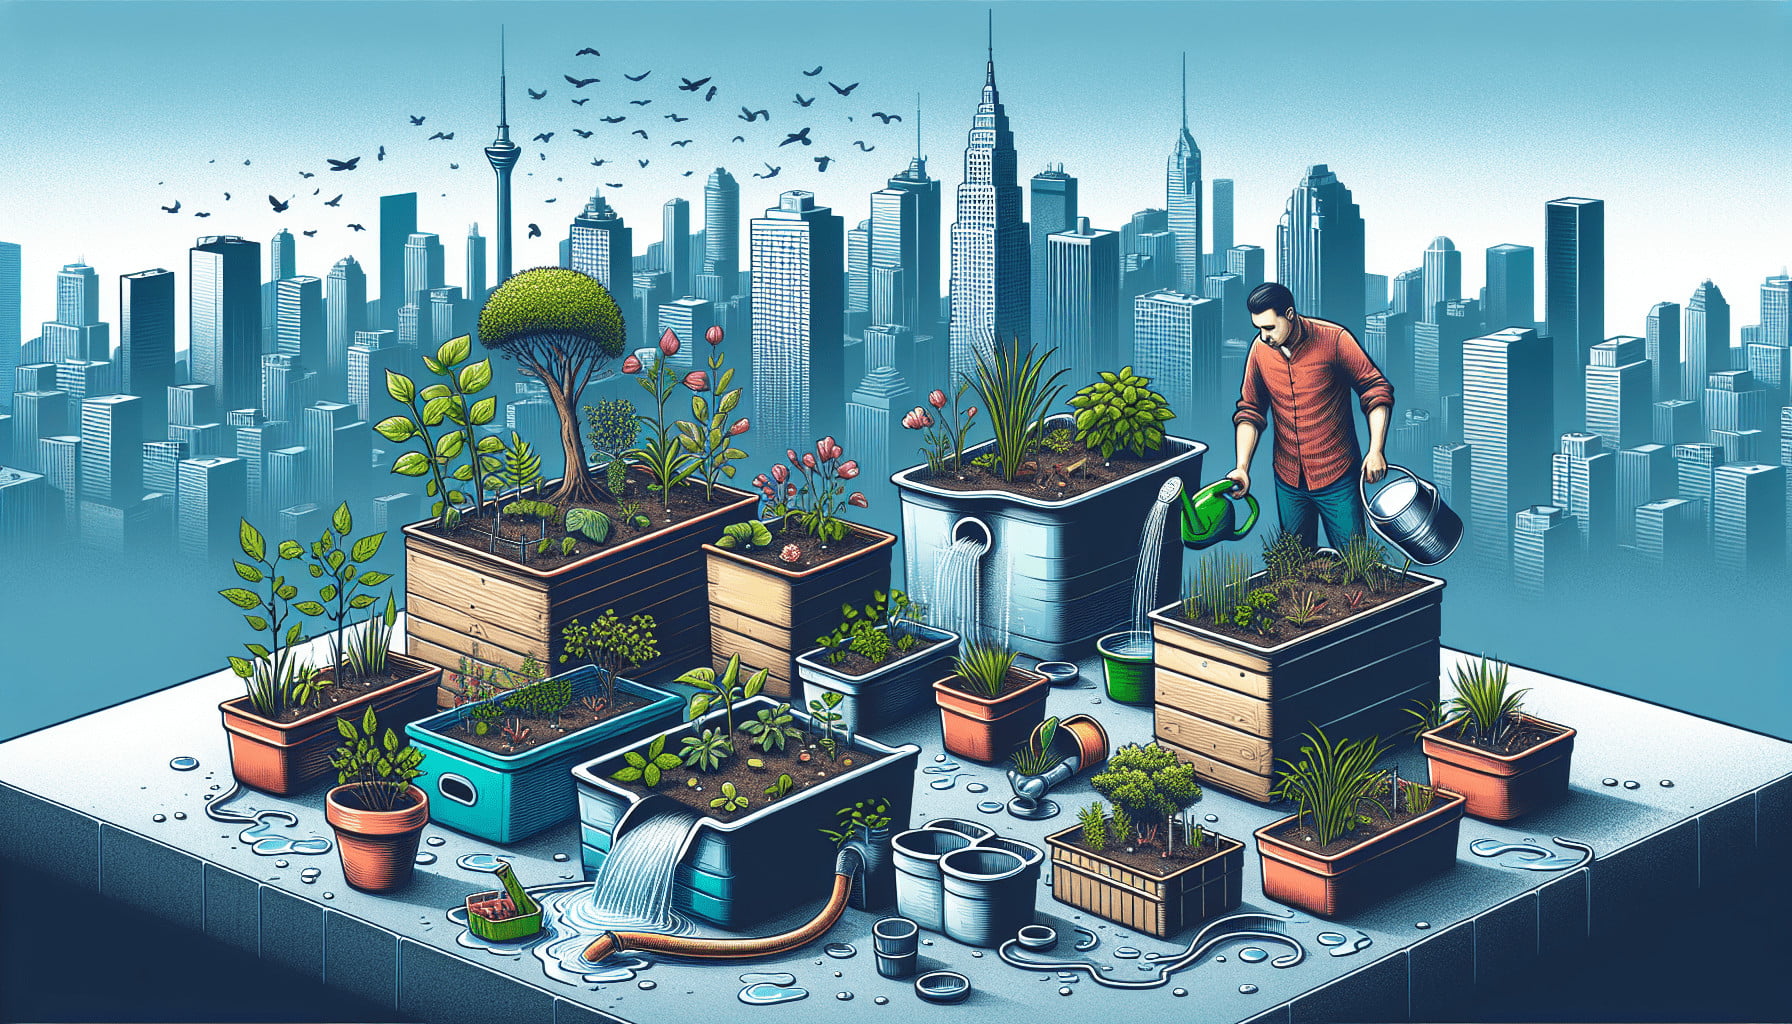
Are you looking to create a lush, vibrant rooftop garden in containers? Well, look no further. This article provides you with essential tips and tricks to ensure successful watering and drainage in your rooftop container gardens. From selecting the right containers to choosing the appropriate watering techniques, you’ll learn everything you need to know to keep your plants thriving and healthy. So, grab your watering can and get ready to elevate your gardening game!
Choosing the Right Containers
Consider size and material
When selecting containers for your rooftop container garden, it’s important to consider both the size and material of the pots. The size of the containers will depend on the type of plants you wish to grow and the available space on your rooftop. Larger plants will require bigger containers to accommodate their roots and provide enough space for growth. On the other hand, smaller plants can thrive in smaller pots.
In addition to size, the material of the containers also plays a crucial role. Plastic and fiberglass containers are lightweight and easy to move, making them ideal for rooftop gardens. They also help retain moisture better than terracotta or clay pots. However, if you opt for terracotta or clay containers, make sure to water your plants more frequently, as these materials tend to dry out faster.
Ensure proper drainage holes
Proper drainage is essential to prevent waterlogging, as excess water can lead to root rot and other plant diseases. When choosing containers, make sure they have sufficient drainage holes at the bottom. These holes allow excess water to escape, ensuring that your plants’ roots do not sit in water. If the containers you have selected do not have drainage holes, drill a few yourself or use a layer of rocks or gravel at the bottom of the pot to create space for water to drain.
Selecting the Soil Mix
Opt for lightweight and well-draining soil
Choosing the right soil mix is crucial for the success of your rooftop container garden. Lightweight and well-draining soil is ideal because it allows excess water to flow through easily, preventing waterlogging. Look for potting soil that contains perlite or vermiculite, as these materials improve drainage.
Avoid using garden soil for containers, as it tends to be heavy and poorly draining, leading to water retention issues. Opt for a high-quality potting mix specifically formulated for containers, as it will provide the necessary nutrients and aeration for your plants’ roots to thrive.
Add organic matter for moisture retention
To help retain moisture in your containers, add organic matter such as compost or peat moss to your soil mix. Organic matter acts as a sponge, absorbing and storing water, which helps keep your plants hydrated for longer periods between watering. It also improves the overall structure of the soil, ensuring proper aeration and nutrient retention.
Mixing in a small amount of organic matter with your potting soil will provide the perfect balance of moisture retention and drainage for your rooftop container garden.
Watering Frequency and Amount
Water consistently but avoid overwatering
Consistency is key when it comes to watering your rooftop container garden. Aim to water your plants at the same time each day to establish a routine and ensure they receive the necessary moisture. However, it’s important to avoid overwatering, as this can lead to root rot and other related issues.
To determine the appropriate amount of water, consider the size of your containers and the type of plants you are growing. As a general rule, water until you see water escaping through the drainage holes. This ensures that the entire root zone is adequately watered without leaving excess water behind.
Check moisture levels before watering
Before reaching for the watering can, it’s important to assess the moisture levels in your containers. Stick your finger about an inch into the soil to check for dryness. If it feels dry, it’s time to water your plants. However, if the soil feels moist or wet, it’s best to wait a bit longer before watering, as overwatering can damage the plants’ roots.
Regularly monitoring your plants’ moisture levels will help you establish a watering routine that meets their specific needs and prevents water-related issues.
Using Mulch to Retain Moisture
Apply a layer of organic mulch
Mulch is a great ally in maintaining moisture levels in your rooftop container garden. Applying a layer of organic mulch, such as shredded bark or straw, helps reduce evaporation and keeps the soil cooler during hot summer days.
Spread a couple of inches of mulch around the base of your plants, taking care to leave a gap around the stems to prevent them from rotting. Not only will mulch conserve moisture, but it will also suppress weed growth and improve the overall aesthetics of your rooftop container garden.
Avoid mulching directly against the plant stems
When mulching your containers, it’s important to avoid placing mulch directly against the plant stems. This can create a moist environment that promotes rot and disease. Instead, leave a small gap between the mulch and the stem to allow proper air circulation and prevent moisture from becoming trapped.
Proper mulching techniques will help retain moisture in the soil, reduce water usage, and keep your plants healthy and happy.
Implementing a Drip Irrigation System
Install drip emitters or soaker hoses
A drip irrigation system is a great investment for your rooftop container garden, as it provides a consistent and efficient way to water your plants. Drip emitters or soaker hoses can be easily installed, delivering water directly to the plants’ roots instead of wasting it on the surrounding soil.
Drip emitters can be placed near the plants’ base, delivering a slow and controlled flow of water. On the other hand, soaker hoses are porous and release water evenly along their length, providing a gentle and efficient irrigation method.
Set up a timer for automated watering
To ensure that your plants receive water even when you’re not around, consider setting up a timer for your drip irrigation system. Timers allow you to program specific watering schedules, ensuring that your plants are watered consistently and efficiently.
Automated watering not only saves you time and effort but also ensures that your rooftop container garden receives regular moisture, promoting healthy growth and lush foliage.
The Importance of Proper Drainage
Ensure containers have sufficient drainage holes
Proper drainage is essential to the health and longevity of your rooftop container garden. Without sufficient drainage, excess water can accumulate in the pots, leading to waterlogging and root rot. When selecting containers, make sure they have enough drainage holes at the bottom to allow excess water to escape.
If you find that your containers lack drainage holes, you can drill some yourself using a drill and a bit of care. Ensure that the holes are evenly spaced and sized appropriately for your container size.
Use a layer of rocks or gravel at the bottom
If you have containers that don’t have drainage holes, another option is to create a layer of rocks or gravel at the bottom of the pots. This layer will act as a drainage reservoir, preventing the plants’ roots from sitting in water and promoting healthy root growth.
To create the layer, add a couple of inches of rocks or gravel to the bottom of the container. Then, add your soil mix on top, making sure it is well-draining and lightweight.

Monitoring Water Runoff
Prevent excessive water runoff
Excessive water runoff can lead to wastage and potential damage to your rooftop. To prevent this, monitor your watering practices and adjust accordingly. If you notice water pouring out of the containers too quickly, it may be a sign that you’re applying too much water at once.
To minimize water runoff, water your containers slowly and evenly. This allows the soil to absorb the moisture more efficiently, reducing the amount of water that flows out of the drainage holes.
Redirect runoff to a garden or rain barrel
Instead of wasted runoff water, consider redirecting it to a garden or rain barrel. If you have a garden on your rooftop or nearby, the excess water can be beneficial for other plants. Alternatively, collect the runoff in a rain barrel, which can later be used to water your plants during dry spells or stored for other household purposes.
By redirecting runoff, you can make the most of the water you use in your rooftop container garden and minimize waste.
Watering Techniques for Different Plants
Understand the specific water needs of different plants
Each plant has its own unique water requirements. Some plants, such as succulents or cacti, prefer drier conditions and should not be overwatered. Others, like leafy greens or tropical plants, thrive in consistently moist soil.
It’s essential to understand the specific water needs of the plants in your rooftop container garden. Research and learn about each plant’s moisture requirements to ensure you’re providing them with the right amount of water at the right frequency.
Water deeply and less frequently for established plants
Established plants with well-developed root systems generally prefer deep watering over frequent light watering. Deep watering encourages plants to grow deep roots, making them more resilient to dry conditions. It also helps prevent shallow root growth, which can lead to water stress during hot periods.
When watering established plants, apply water directly to the root zone and allow it to soak in deeply. Water until you see water escaping through the drainage holes, indicating that the entire root zone has been adequately watered.

Identifying Signs of Overwatering and Underwatering
Observe wilted or yellowing leaves
Wilted or yellowing leaves can be a sign of both overwatering and underwatering. Overwatered plants can develop wilted leaves that appear limp and droopy, while underwatered plants may have dry, yellowing leaves that curl up or become crispy.
Take the time to observe the condition of your plants’ foliage regularly. If you notice any signs of wilting or discoloration, adjust your watering routine accordingly to provide the appropriate amount of moisture.
Check soil moisture levels and adjust watering
To determine if your plants are receiving the right amount of water, check the moisture levels of the soil. Stick your finger about an inch deep into the soil and assess its moisture content. If it feels excessively wet, you may be overwatering. If it feels dry, it’s time to water.
Monitoring the soil moisture regularly allows you to make informed decisions about watering and prevent issues associated with overwatering and underwatering.
Troubleshooting Watering and Drainage Issues
Solving waterlogging problems
If you notice that your containers are consistently waterlogged, you’ll need to address the issue to prevent root rot and other related problems. First, ensure that your containers have sufficient drainage holes. If the problem persists, consider repotting your plants in containers with better drainage or amending the soil mix with more perlite or vermiculite to improve drainage.
You may also need to adjust your watering routine, watering less frequently or reducing the amount of water applied at each watering session. Ensure that the soil is allowed to dry out slightly between waterings to prevent waterlogging.
Addressing soil compaction and drainage problems
Soil compaction can hinder drainage in your containers, leading to water retention issues. If you notice that the soil in your containers feels compacted or water doesn’t drain readily, it’s time to address the problem.
Loosen the soil gently with a fork or a small hand trowel to improve aeration and water movement. Adding organic matter, such as compost or peat moss, can also help improve the soil structure, making it easier for water to drain properly.
By addressing these common watering and drainage issues, you can ensure the health and vitality of your rooftop container garden. With the right container selection, soil mix, watering techniques, and proper drainage, your plants will thrive, creating a beautiful oasis on your rooftop. Happy gardening!

