Welcome to “The Ultimate Step-by-Step Guide to Building a DIY Raised Bed for Your Rooftop Garden”! In this article, you will learn how to create your own raised bed for your rooftop garden in a few simple steps. From gathering materials to planting your favorite fruits and vegetables, we have got you covered. Let’s get started on this exciting journey to creating your very own urban oasis!
Have you ever dreamed of having your own rooftop garden?
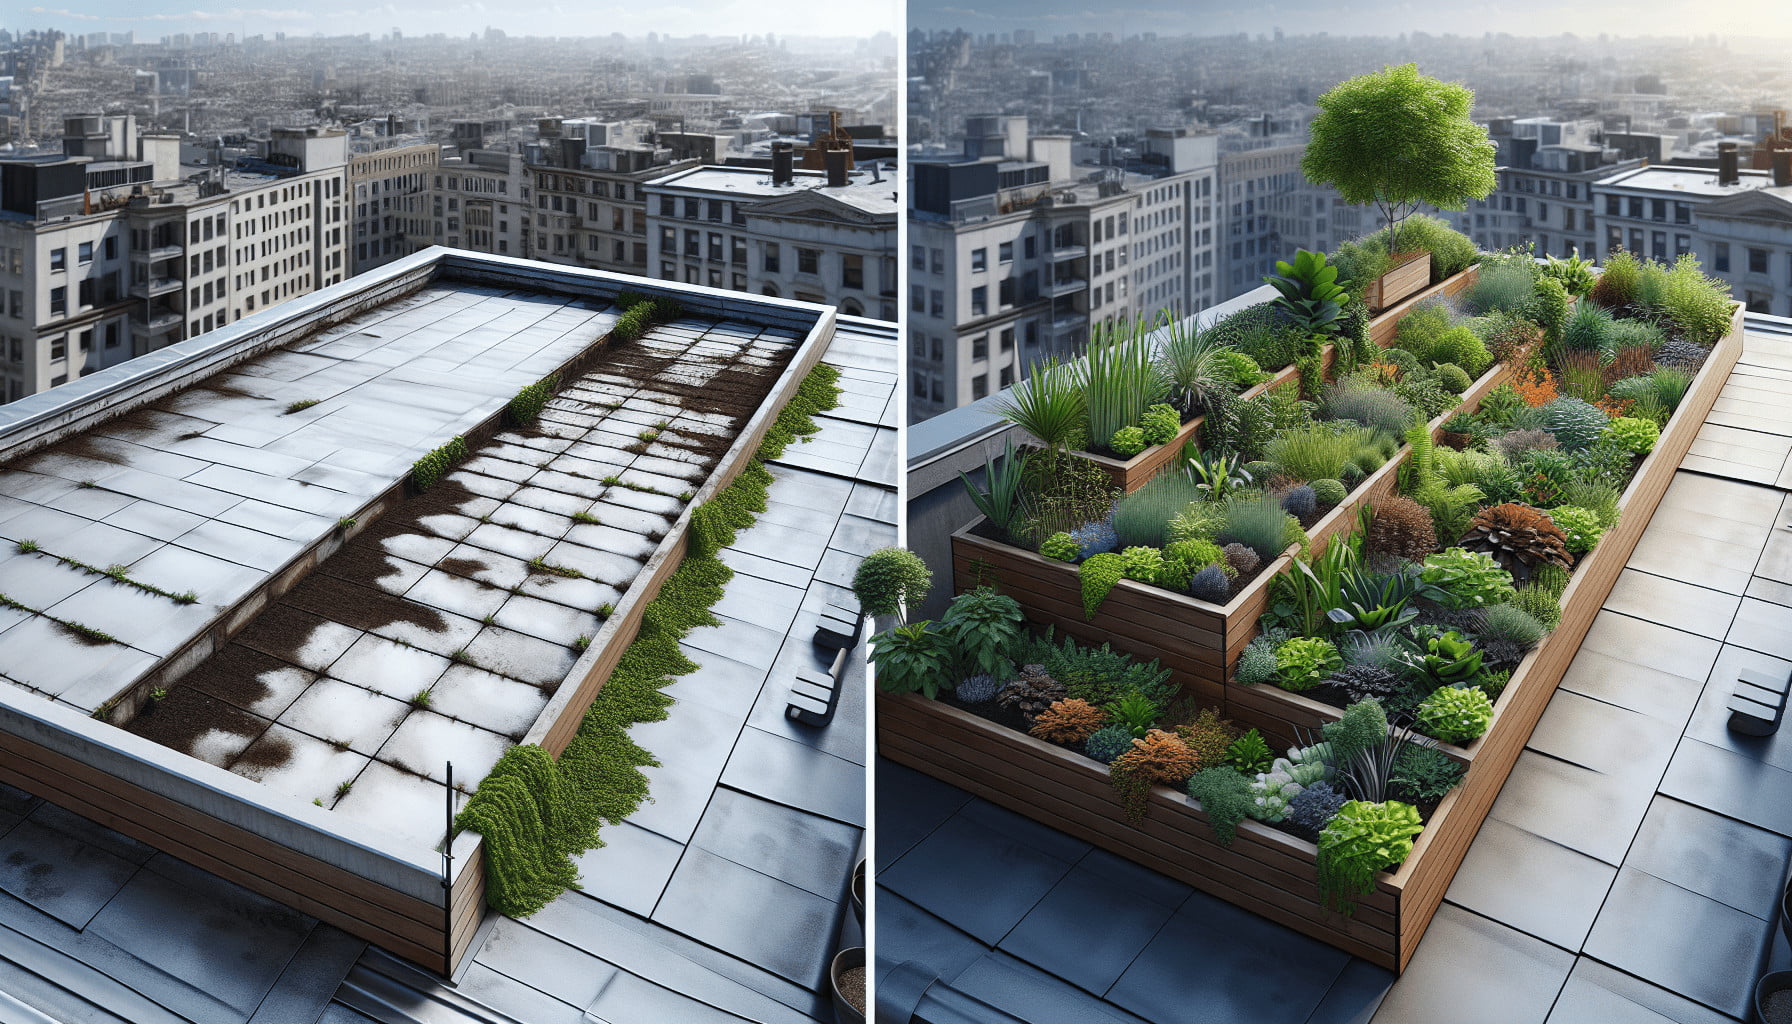
If you live in a city where green space is limited, but you still crave the joy of growing your own fruits, vegetables, and flowers, a rooftop garden may be the perfect solution for you. One of the easiest and most efficient ways to create a rooftop garden is by building a DIY raised bed. This step-by-step guide will help you build a sturdy and beautiful raised bed for your rooftop garden, so you can enjoy the benefits of gardening right at home.

Materials You Will Need
Before you start building your raised bed, it’s important to gather all the necessary materials. Here’s a list of what you’ll need:
- Wood planks (cedar is a great option for its durability and rot resistance)
- Galvanized screws
- Drill
- Saw
- Measuring tape
- Level
- Weed cloth
- Soil
- Plants or seeds
Make sure to choose high-quality materials that will withstand the elements and provide a healthy environment for your plants to grow.
Choosing the Right Location for Your Raised Bed
The location of your raised bed is crucial for the success of your rooftop garden. Choose a spot that receives at least 6 hours of sunlight each day, as most plants require ample sunlight to thrive. Additionally, make sure the surface is level to prevent water from pooling in one corner of the bed.
Once you’ve found the perfect spot, measure the dimensions of the area to determine how big you want your raised bed to be. Consider the amount of space you have available and the types of plants you want to grow when deciding on the size of your raised bed.
Building the Frame of the Raised Bed
Now that you have your materials and chosen the location for your raised bed, it’s time to start building the frame. Follow these steps to create a sturdy and durable raised bed frame:
- Cut the wood planks to the desired dimensions of your raised bed. For example, if you want a 4×4 raised bed, cut four 4-foot-long planks for the sides and four 4-foot-long planks for the ends.
- Arrange the planks in a rectangle with the shorter planks inside the longer planks to form the sides of the raised bed.
- Use the drill to attach the planks together with galvanized screws, making sure the corners are square and the frame is sturdy.
- Place the frame in the desired location on your rooftop garden, using a level to ensure it’s even.
Building the frame of your raised bed is a crucial step in the process, as it will determine the stability and longevity of your garden. Take your time to measure and cut the wood accurately, and make sure to secure the planks tightly with screws to prevent the frame from shifting over time.
Adding the Bottom to Your Raised Bed
To prevent weeds and pests from invading your raised bed, it’s essential to add a bottom layer before filling it with soil. Follow these steps to add the bottom to your raised bed:
- Cut a piece of weed cloth to fit the dimensions of the inside of your raised bed frame.
- Place the weed cloth inside the frame, making sure it covers the entire bottom surface.
- Secure the weed cloth to the sides of the frame with staples or nails to keep it in place.
The bottom layer will help create a barrier between the soil in your raised bed and the rooftop surface, preventing unwanted visitors from harming your plants. Plus, the weed cloth will allow water to drain freely while keeping the soil in place.

Filling Your Raised Bed with Soil
Now that you have the frame and bottom of your raised bed in place, it’s time to fill it with soil. Choose a high-quality, nutrient-rich soil that will provide a healthy environment for your plants to grow. Here’s how to fill your raised bed with soil:
- Fill the bottom of the frame with a layer of gravel or small rocks to improve drainage.
- Fill the rest of the frame with soil, leaving a few inches of space at the top for planting.
- Level the soil with a rake or shovel to ensure an even surface for planting.
Make sure to choose soil that is appropriate for the types of plants you want to grow in your raised bed. Consider adding compost or organic fertilizer to enrich the soil and promote plant growth.
Planting in Your Raised Bed
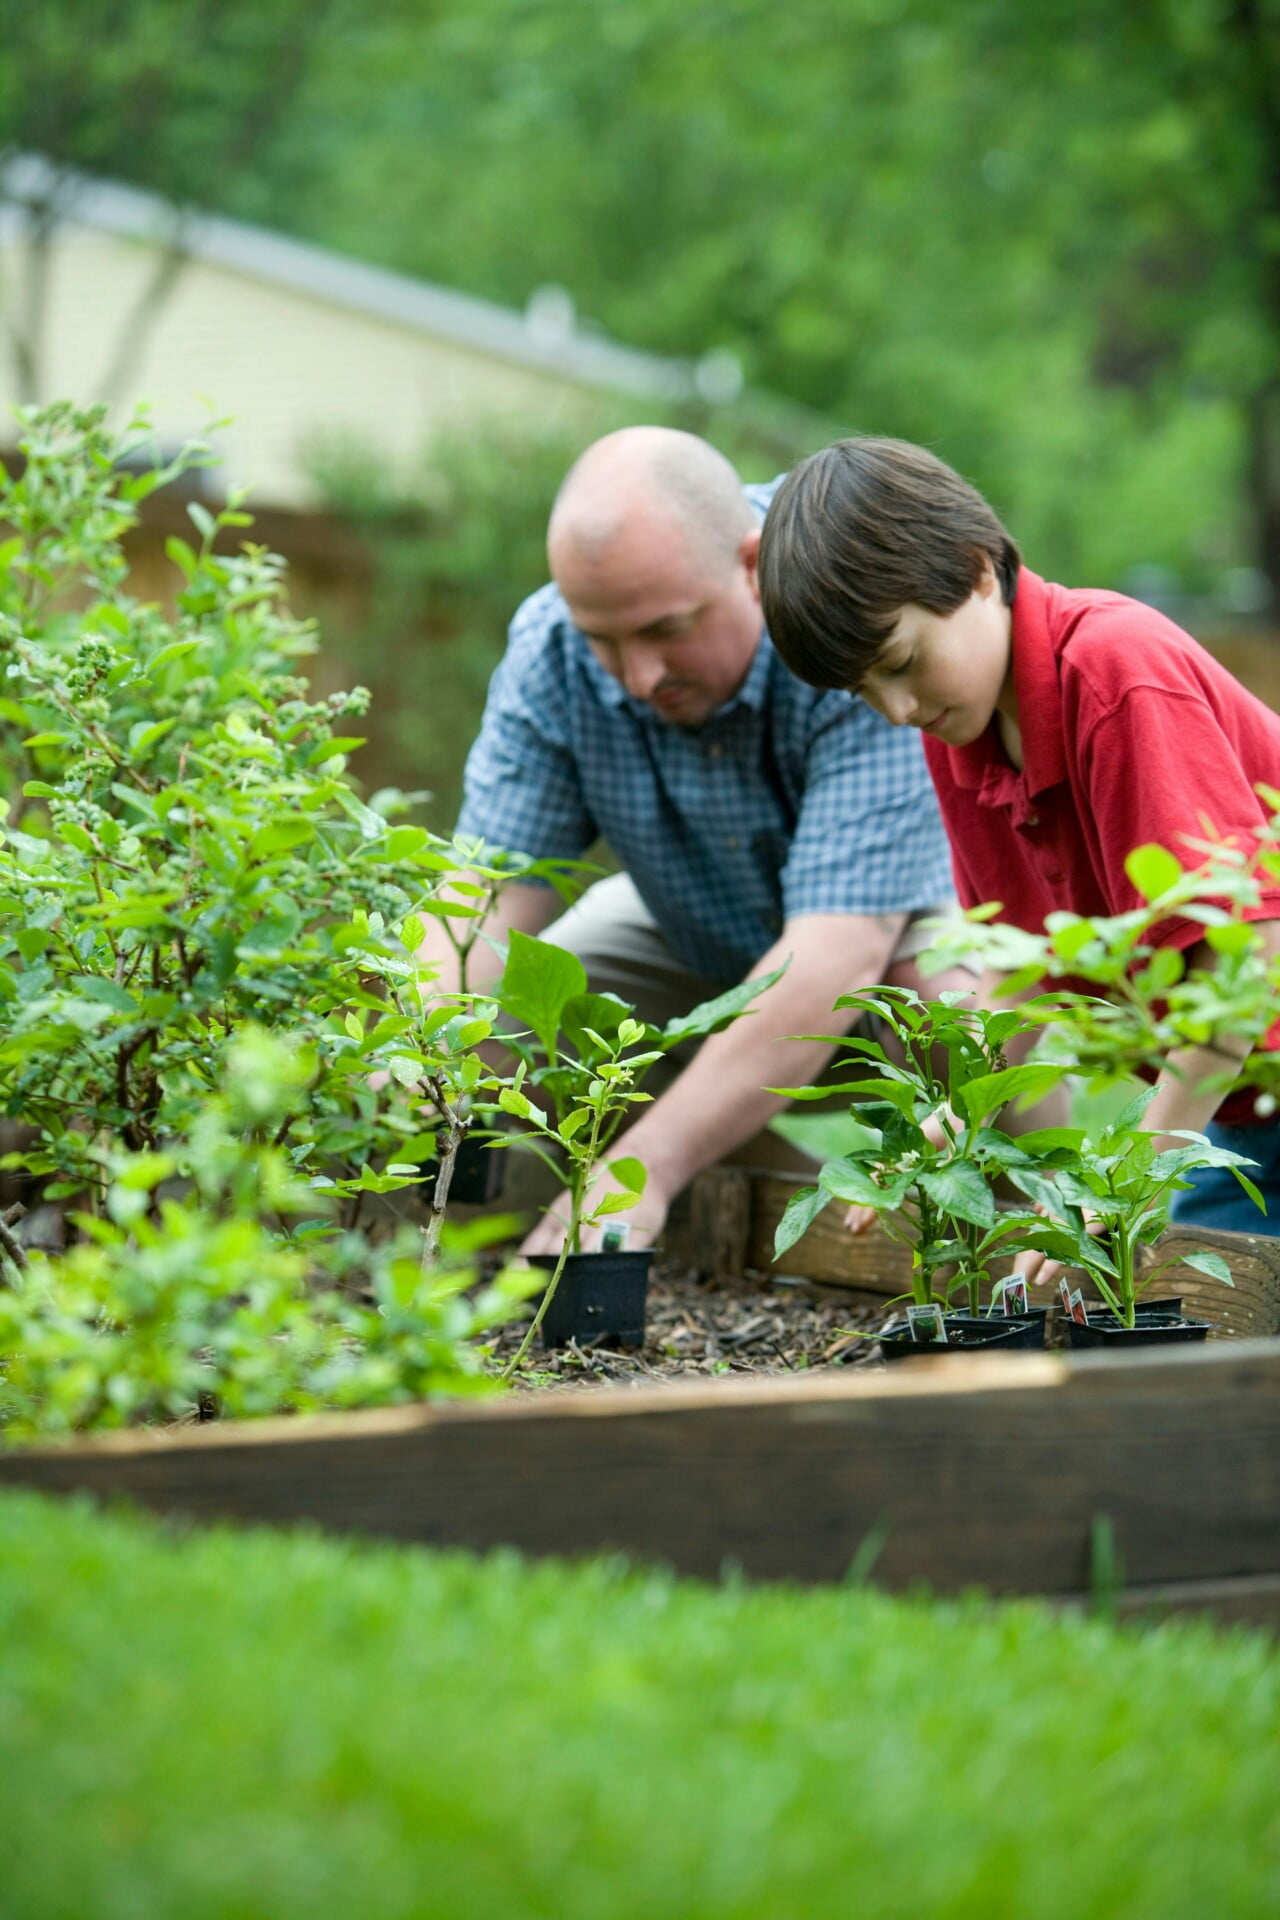
Once your raised bed is filled with soil, it’s time to start planting! Choose a variety of plants, fruits, vegetables, and flowers that will thrive in your rooftop garden. Here are some tips for planting in your raised bed:
- Create a planting plan to maximize the space in your raised bed and ensure that each plant has enough room to grow.
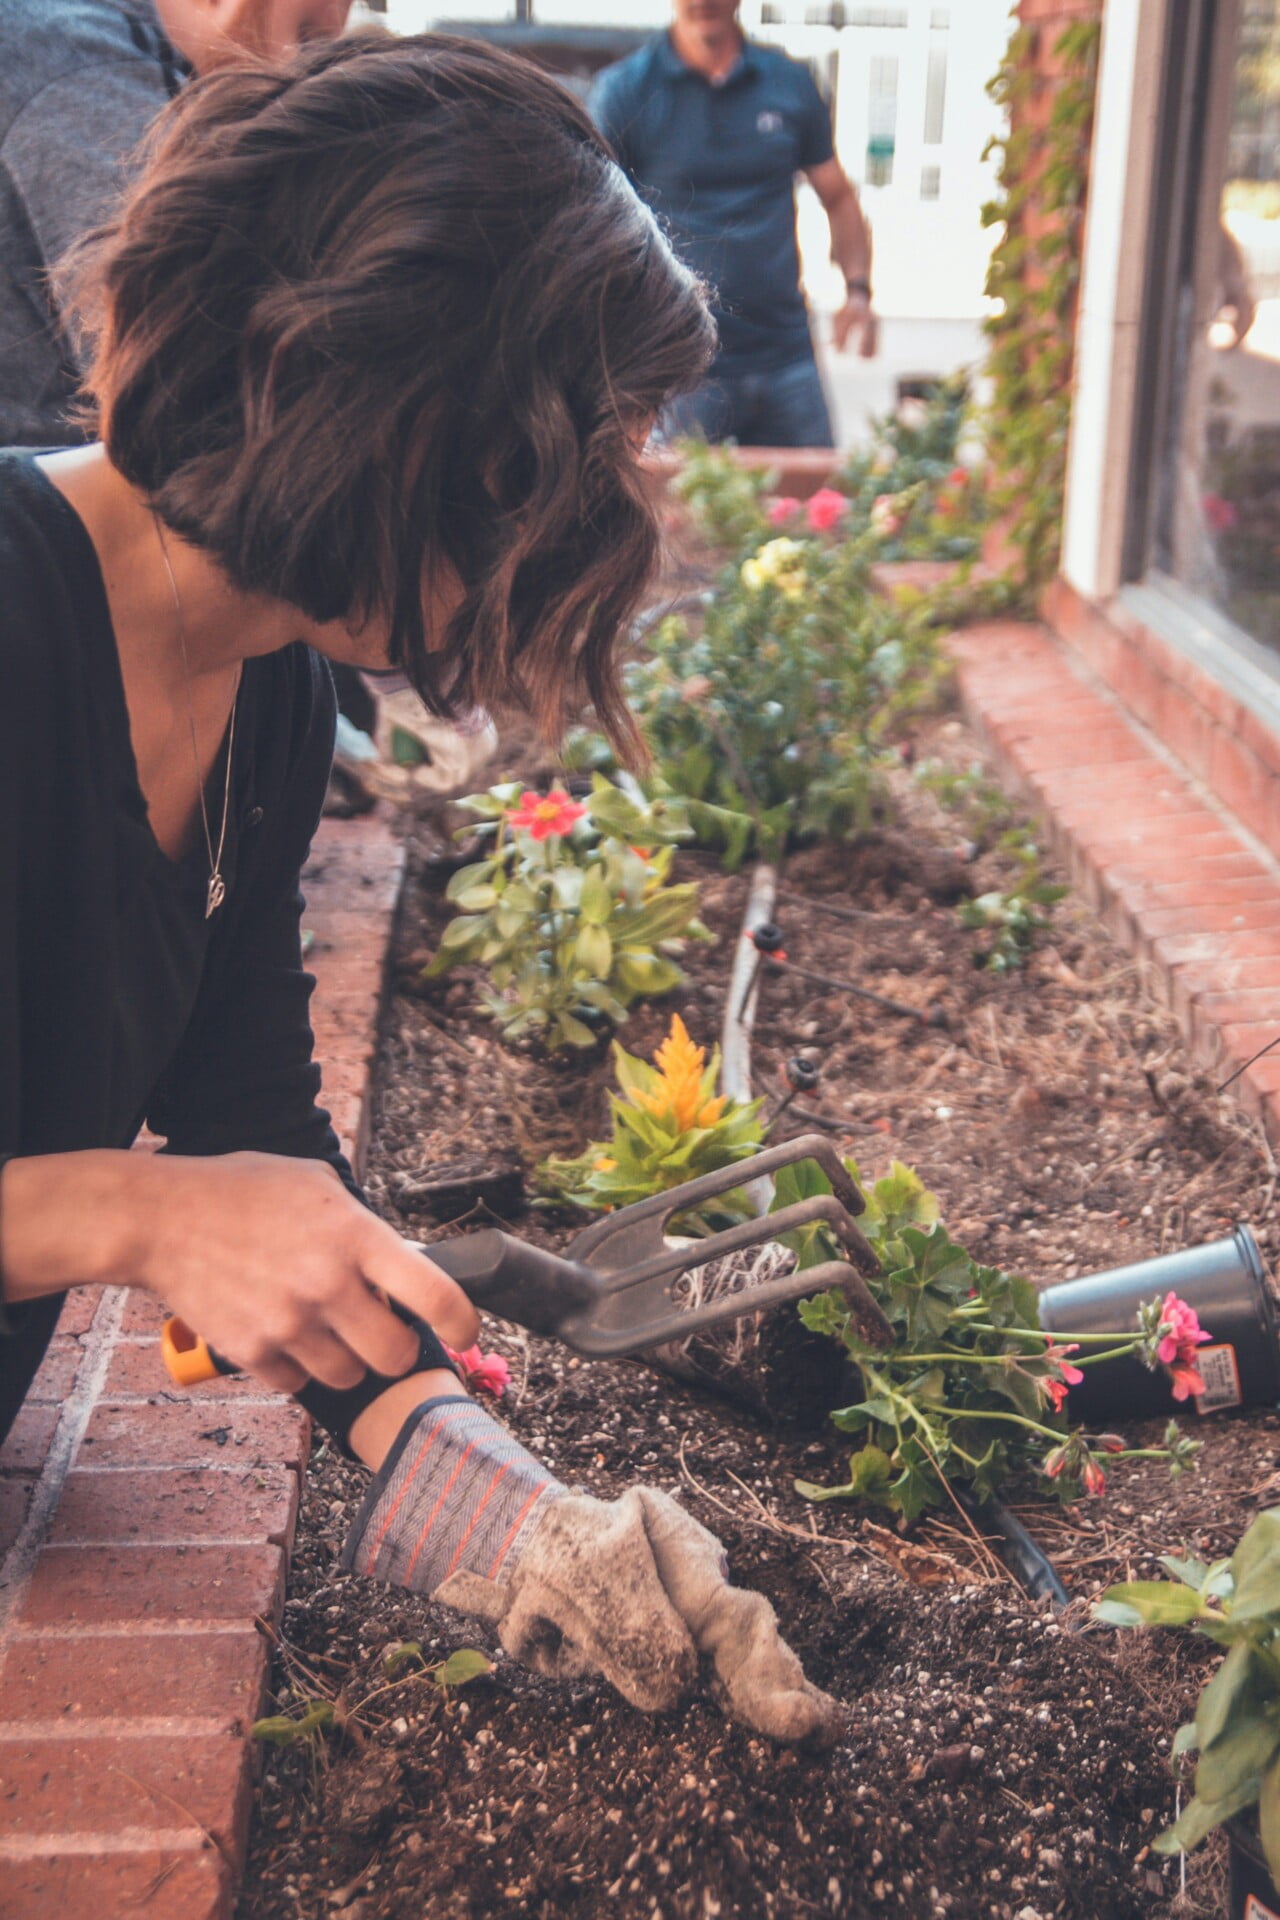
- Dig small holes in the soil for each plant, making sure to space them according to their growth requirements.
- Gently place each plant in its hole and cover the roots with soil, pressing down lightly to secure the plant in place.
Consider adding trellises or supports for climbing plants like tomatoes or cucumbers, and don’t forget to label your plants to avoid confusion. Water your plants regularly and watch them grow in your rooftop garden oasis.

Maintaining Your Rooftop Garden
Now that you’ve built your DIY raised bed and planted your favorite fruits, vegetables, and flowers, it’s time to maintain your rooftop garden. Here are some tips for keeping your rooftop garden healthy and thriving:
- Water your plants regularly, checking the moisture level of the soil to ensure they’re getting enough hydration.
- Remove weeds and pests as soon as you notice them, using organic methods to avoid harming your plants.
- Mulch around your plants to retain moisture, regulate soil temperature, and prevent weed growth.
- Fertilize your plants with organic fertilizers or compost to provide essential nutrients for healthy growth.
By following these maintenance tips, you can ensure that your rooftop garden continues to flourish and provide you with fresh produce and beautiful blooms throughout the growing season. Don’t forget to enjoy the fruits of your labor and share your rooftop garden with friends and family.
Conclusion
Building a DIY raised bed for your rooftop garden is a rewarding and fulfilling project that will allow you to enjoy the benefits of gardening right at home. By following this step-by-step guide and incorporating your creativity and passion for plants, you can create a beautiful oasis on your rooftop that will bring joy and tranquility to your daily life.
Remember to choose high-quality materials, plan your garden layout carefully, and maintain your rooftop garden regularly to ensure its success. With dedication and care, your rooftop garden will thrive and provide you with fresh produce, vibrant flowers, and a sense of accomplishment that will last a lifetime.
Now, roll up your sleeves, gather your materials, and start building your DIY raised bed for your rooftop garden. The joys of gardening are just a rooftop away!

