Imagine transforming your roof into a vibrant oasis of green without breaking the bank. With our tips and tricks, you’ll learn how to create a DIY green roof on a budget, bringing nature right to your doorstep. From choosing the right plants to installing a simple drainage system, this article will guide you step by step, making it easy and affordable to enjoy the benefits of a lush green roof.
So grab your gardening gloves, roll up your sleeves, and get ready to create a stunning eco-friendly space that will amaze your friends and neighbors.
Materials and Tools
Selecting the Right Materials
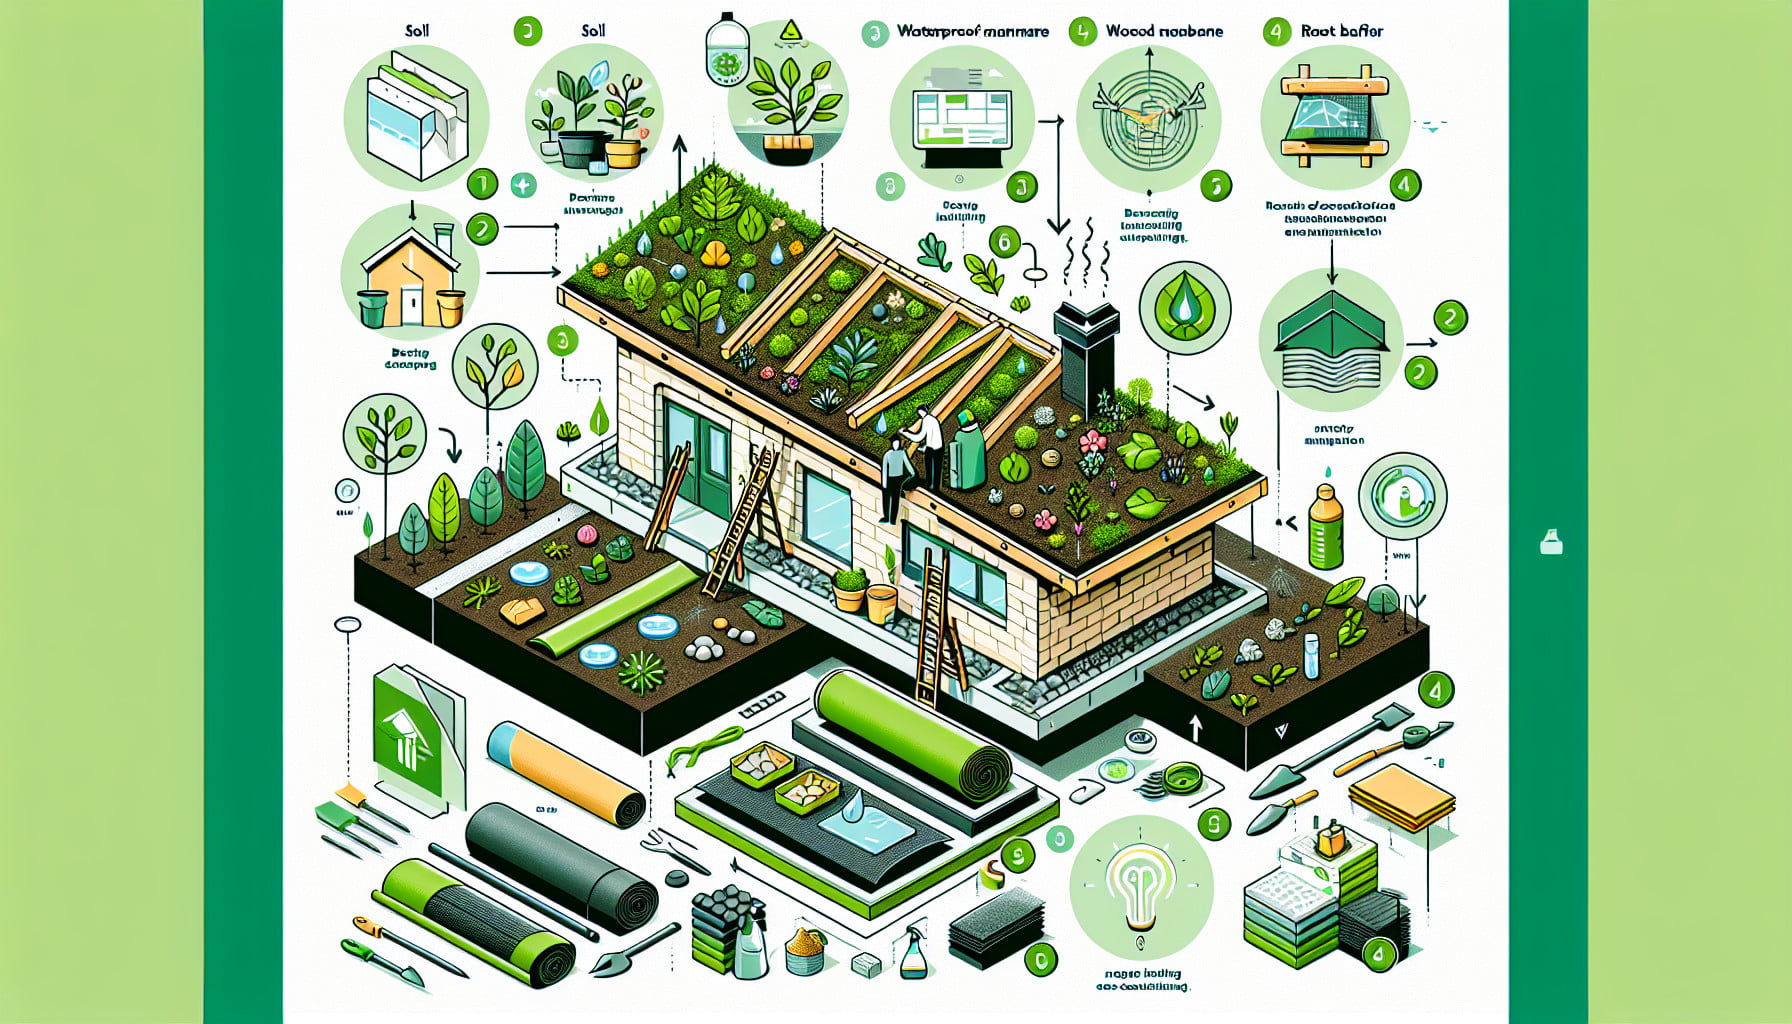
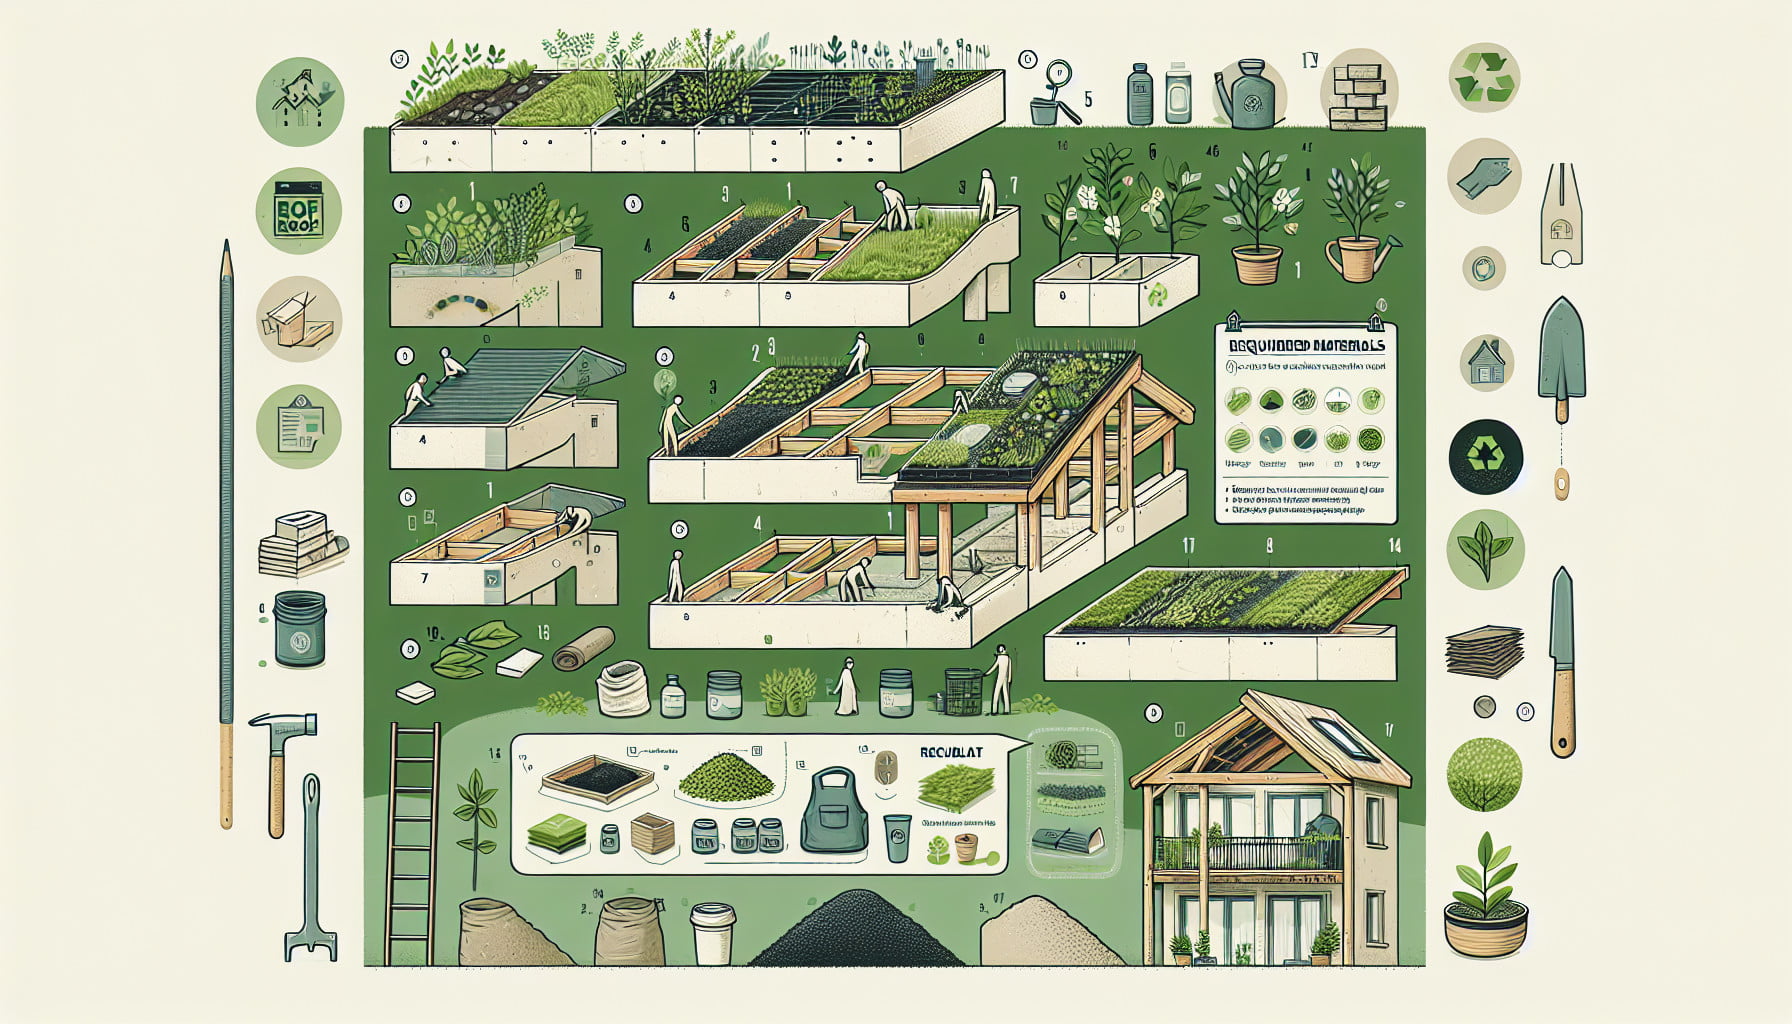
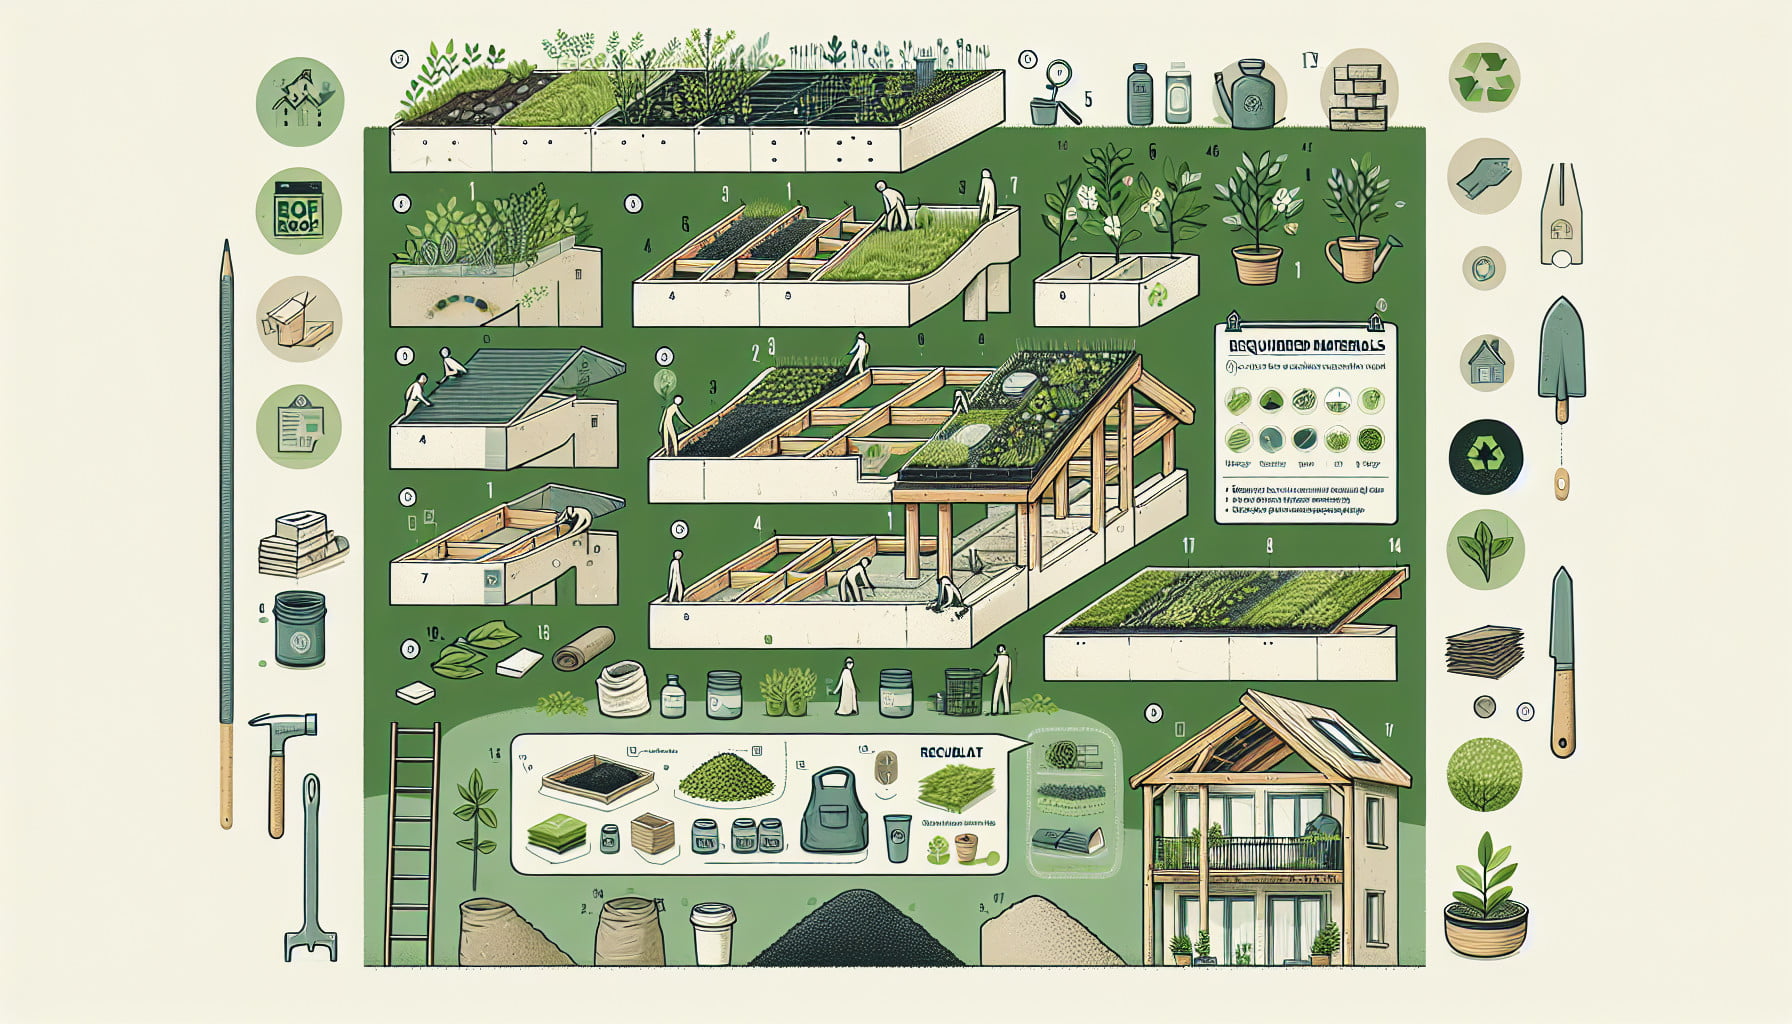
When creating a DIY green roof, it is essential to select the right materials to ensure its success and longevity. You will need materials such as a waterproofing membrane, protective layer, drainage mats or rocks, growing medium, and plants. It is crucial to choose materials that are durable, able to withstand various weather conditions, and promote water drainage. Selecting high-quality materials will help ensure the longevity and functionality of your green roof.
Essential Tools
To create a DIY green roof, you will need a few essential tools to assist you throughout the process. These tools include a ladder for accessing your roof, a tape measure for accurate measurements, a utility knife for cutting materials, a rake or shovel for spreading and leveling the growing medium, and a watering can or irrigation system for watering the green roof. Having these essential tools on hand will make the installation process much smoother.
Optional Tools
While not essential, there are some optional tools that can be beneficial when creating a DIY green roof. These tools include a roof inspection camera to assess the condition of your roof, a weed trimmer for maintaining the green roof, and a fertilizer spreader for evenly distributing fertilizer. These optional tools can help streamline the maintenance process and ensure the health and appearance of your green roof.
Choosing the Right Location
Considerations for Location
Choosing the right location for your DIY green roof is crucial for its success. Consider factors such as the slope of your roof, the accessibility of the area, and the load-bearing capacity of your roof. Ensure that the slope of your roof allows for proper drainage and that the area is easily accessible for maintenance purposes. Additionally, check the load-bearing capacity of your roof to ensure it can support the weight of the green roof and any additional materials.
Assessing Sunlight and Shade
Another important consideration when choosing the location for your DIY green roof is assessing the sunlight and shade in the area. Green roofs generally require a minimum of four to six hours of direct sunlight per day for proper plant growth. Take note of any nearby trees or buildings that may cast shadows on the roof. If your roof receives limited sunlight, consider selecting shade-tolerant plants that can thrive in such conditions. Proper assessment of sunlight and shade will ensure your green roof has optimal growing conditions.

Preparing the Roof
Inspecting the Roof Structure
Before proceeding with the installation of your green roof, it is crucial to inspect the roof structure to ensure its stability and integrity. Look for any signs of damage, such as cracks or leaks. Address any necessary repairs before moving forward with the green roof installation. A sturdy and sound roof structure will provide a solid foundation for your green roof and prevent any potential issues in the future.
Repairing and Reinforcing the Roof
If you notice any damage or weaknesses in your roof structure during the inspection, it is essential to address these issues before installing the green roof. Repair any cracks, leaks, or damaged areas to prevent water infiltration and further deterioration. Reinforce the roof where necessary to provide additional support for the added weight of the green roof. By addressing these repairs and reinforcements, you will ensure the longevity and stability of your green roof.
Adding Waterproofing
To protect your roof from water damage, it is crucial to add a waterproofing membrane before proceeding with the green roof installation. Start by cleaning the roof surface to remove any debris or loose materials. Then, apply the waterproofing membrane, ensuring it covers the entire roof area. This membrane will prevent water from seeping through the roof and causing damage to the underlying structure. Adding a waterproofing membrane is a crucial step in creating a durable and long-lasting green roof.
Creating a Drainage Layer
Installing a Protective Layer
After the waterproofing membrane is in place, it is essential to install a protective layer on top of it. This layer acts as a barrier between the waterproofing membrane and the drainage mats or rocks, preventing them from puncturing or damaging the membrane. The protective layer can be made of materials such as geotextile fabric or rubber matting. Ensure that the protective layer completely covers the waterproofing membrane to provide maximum protection.
Adding Drainage Mats or Rocks
Once the protective layer is installed, it is time to add the drainage mats or rocks to create a proper drainage system for your green roof. These mats or rocks allow excess water to drain away from the plants and growing medium, preventing waterlogged conditions. Install the drainage mats or rocks evenly across the roof surface, ensuring they cover the entire area. This will ensure proper water drainage and prevent any potential issues with plant health.

Applying Growing Medium
Selecting the Growing Medium
Choosing the right growing medium is crucial for the success of your green roof. The growing medium should have good water retention properties while also promoting adequate drainage. It should be lightweight to avoid excessive weight on the roof structure. Opt for a mixture of organic matter, such as compost or peat moss, and inorganic matter, such as perlite or vermiculite. This combination will provide a balance of nutrients, moisture retention, and aeration for your green roof plants.
Calculating the Quantity of Growing Medium
Before applying the growing medium, it is essential to calculate the quantity needed based on the size of your green roof. Measure the length and width of the roof to determine the total area. Multiply the area by the desired depth of the growing medium to calculate the volume required. Consider factors such as settling and compaction when determining the quantity to ensure you have enough growing medium for proper plant growth.
Spreading and leveling the Growing Medium
Once you have determined the quantity of growing medium needed, it is time to spread and level it across the green roof. Start by evenly spreading the growing medium using a rake or shovel. Ensure that the depth is consistent across the entire roof surface. Use a leveling tool, such as a board or straight edge, to achieve an even surface. This will provide a stable foundation for planting and promote uniform plant growth.
Choosing the Right Plants
Consider Local Climate and Conditions
When selecting plants for your green roof, it is crucial to consider the local climate and conditions. Choose plants that are well-suited to the temperature, rainfall, and sunlight levels in your region. Consider factors such as heat and cold tolerance, drought resistance, and wind exposure. Native plants are often a great choice as they are adapted to the local climate and can thrive with minimal maintenance. By choosing plants that are well-adapted to your climate, you can ensure their success on your green roof.
Selecting Plants for Green Roofs
Certain types of plants are particularly well-suited for green roofs due to their ability to withstand the challenges of this unique environment. Sedums and succulents are popular choices due to their low water requirements and ability to thrive in shallow growing conditions. Ornamental grasses and perennial flowers can also be excellent options, providing color and visual interest to your green roof. Consider the height, spread, and growth habits of the plants to ensure they will not overwhelm the roof space.
Choosing Native and Drought-Tolerant Plants
In addition to considering the suitability of plants for green roofs, it is beneficial to choose native and drought-tolerant plants. Native plants are adapted to the local ecosystem and require minimal water and maintenance once established. Drought-tolerant plants have the ability to withstand periods of limited rainfall, which is particularly important for green roofs in arid or semi-arid climates. By selecting native and drought-tolerant plants, you can create a sustainable and low-maintenance green roof.
Planting the Green Roof
Planting Techniques
Proper planting techniques are essential for the success of your green roof. Start by digging small holes or depressions in the growing medium to accommodate the root ball of each plant. Gently remove the plants from their containers and place them in the prepared holes, ensuring that the top of the root ball is level with or slightly above the surface. Backfill the holes with additional growing medium, gently firming it around the plant roots. Water the newly planted green roof thoroughly to help settle the soil and encourage root establishment.
Spacing and Arrangement
When planting your green roof, it is important to consider the spacing and arrangement of the plants. Space the plants according to their mature size, ensuring they have enough room to grow and spread. Avoid overcrowding, as this can lead to competition for resources and poor plant health. Consider the visual aesthetics and desired design of your green roof when arranging the plants. Group plants with similar growth habits or colors together to create a cohesive and visually appealing green space.
Mulching the Plants
After planting the green roof, it is beneficial to apply a layer of mulch around the plants. Mulching helps conserve moisture, suppress weeds, and maintain a more stable growing environment for the plants. Choose a lightweight mulch material, such as wood chips or straw, to avoid excessive weight on the roof structure. Apply a thin layer of mulch around the base of each plant, taking care not to cover the leaves or stems. Mulching will help promote plant health and reduce maintenance requirements.
Irrigation and Maintenance
Watering the Green Roof
Proper irrigation is essential for the health and vitality of your green roof plants. Initially, water the green roof thoroughly after planting to ensure the growing medium is adequately moistened. After the plants are established, monitor soil moisture levels and water as needed to keep the growing medium consistently moist but not saturated. Consider using a drip irrigation system or a soaker hose to provide slow and targeted watering. Regularly inspect the green roof for signs of drought stress, and adjust your watering schedule accordingly.
Weeding and Pruning
Regular weeding and pruning are necessary to maintain the appearance and health of your green roof. Remove any weeds or unwanted vegetation that may compete with your plants for resources. Periodically inspect the plants for dead or damaged growth and prune as necessary to promote healthy growth and maintain the desired shape and size. Take care when pruning to avoid damaging the waterproofing membrane and other green roof components.
Fertilizing the Plants
Proper fertilization is crucial for the long-term vitality of your green roof plants. Choose a slow-release organic fertilizer specifically formulated for green roofs. Apply the fertilizer according to the manufacturer’s instructions, taking care not to over-fertilize, as this can lead to excessive growth and nutrient runoff. Regularly monitor the nutrient levels of the plants through leaf color and growth rates, and adjust the fertilizer application as needed to ensure optimal plant health.
Monitoring and Troubleshooting
Monitoring Plant Health
Regular monitoring of plant health is essential to identify and address any potential issues early on. Inspect the plants for signs of stress, such as discoloration, wilting, or pest damage. Monitor the growth and vigor of the plants to ensure they are thriving in the green roof environment. Regularly observe the drainage and water retention properties of the growing medium to ensure proper drainage and prevent waterlogged conditions. By actively monitoring plant health, you can address any problems promptly and maintain the overall health of your green roof.
Identifying and Managing Common Issues
While green roofs offer numerous benefits, they can occasionally encounter common issues that require attention. These issues may include pests, disease, or inadequate drainage. Promptly identify and address any pest or disease problems by implementing appropriate control measures. Ensure that the green roof has proper drainage by regularly inspecting the drainage mats or rocks and clearing any blockages. Addressing these common issues in a timely manner will help maintain the functionality and aesthetics of your green roof.
Repairing and Maintaining the Roof
Regular maintenance and occasional repairs are necessary to ensure the longevity and functionality of your green roof. Inspect the roof structure and waterproofing membrane for any signs of damage or deterioration. Address any necessary repairs promptly to prevent water infiltration and structural issues. Monitor the condition and effectiveness of the drainage mats or rocks and replace them as needed. Perform routine maintenance tasks, such as removing debris and clearing gutters, to prevent any potential issues with water drainage. By regularly maintaining and repairing your green roof, you can maximize its lifespan and enjoyment.
Enjoying the Benefits
Reducing Energy Consumption
One of the significant benefits of a green roof is its ability to reduce energy consumption. The layer of growing medium and plants provides insulation, reducing heat transfer between the roof and the interior of the building. This insulation helps regulate interior temperatures, reducing the need for heating and cooling, and ultimately lowering energy costs. By creating a green roof, you can contribute to energy conservation and make your home more energy-efficient.
Improving Air Quality
Green roofs have been shown to improve air quality by acting as natural filters. The plants on the green roof absorb airborne pollutants and release oxygen, effectively reducing the concentration of pollutants in the surrounding environment. This improved air quality has numerous health benefits and creates a more pleasant living environment for you and your community. By creating a green roof, you can contribute to cleaner air and promote a healthier living environment.
Enhancing Biodiversity
Green roofs provide valuable habitat for various plant and animal species, enhancing biodiversity in urban areas. The plants on the green roof attract pollinators such as bees and butterflies, contributing to ecosystem health and promoting pollination of nearby plants. The green roof also provides refuge and nesting opportunities for birds and other small animals. By creating a green roof, you can contribute to the preservation and enhancement of local biodiversity, creating a more sustainable and ecologically balanced urban environment.
In conclusion, creating a DIY green roof on a budget is an achievable and rewarding project. By following the outlined steps, selecting the right materials and plants, and properly maintaining your green roof, you can enjoy the numerous benefits it offers. From reducing energy consumption to improving air quality and enhancing biodiversity, a green roof provides both environmental and aesthetic advantages. So, gather your materials and tools, select the right location, and embark on your DIY green roof journey. Your efforts will not only transform your roof but also contribute to a greener and more sustainable future.

