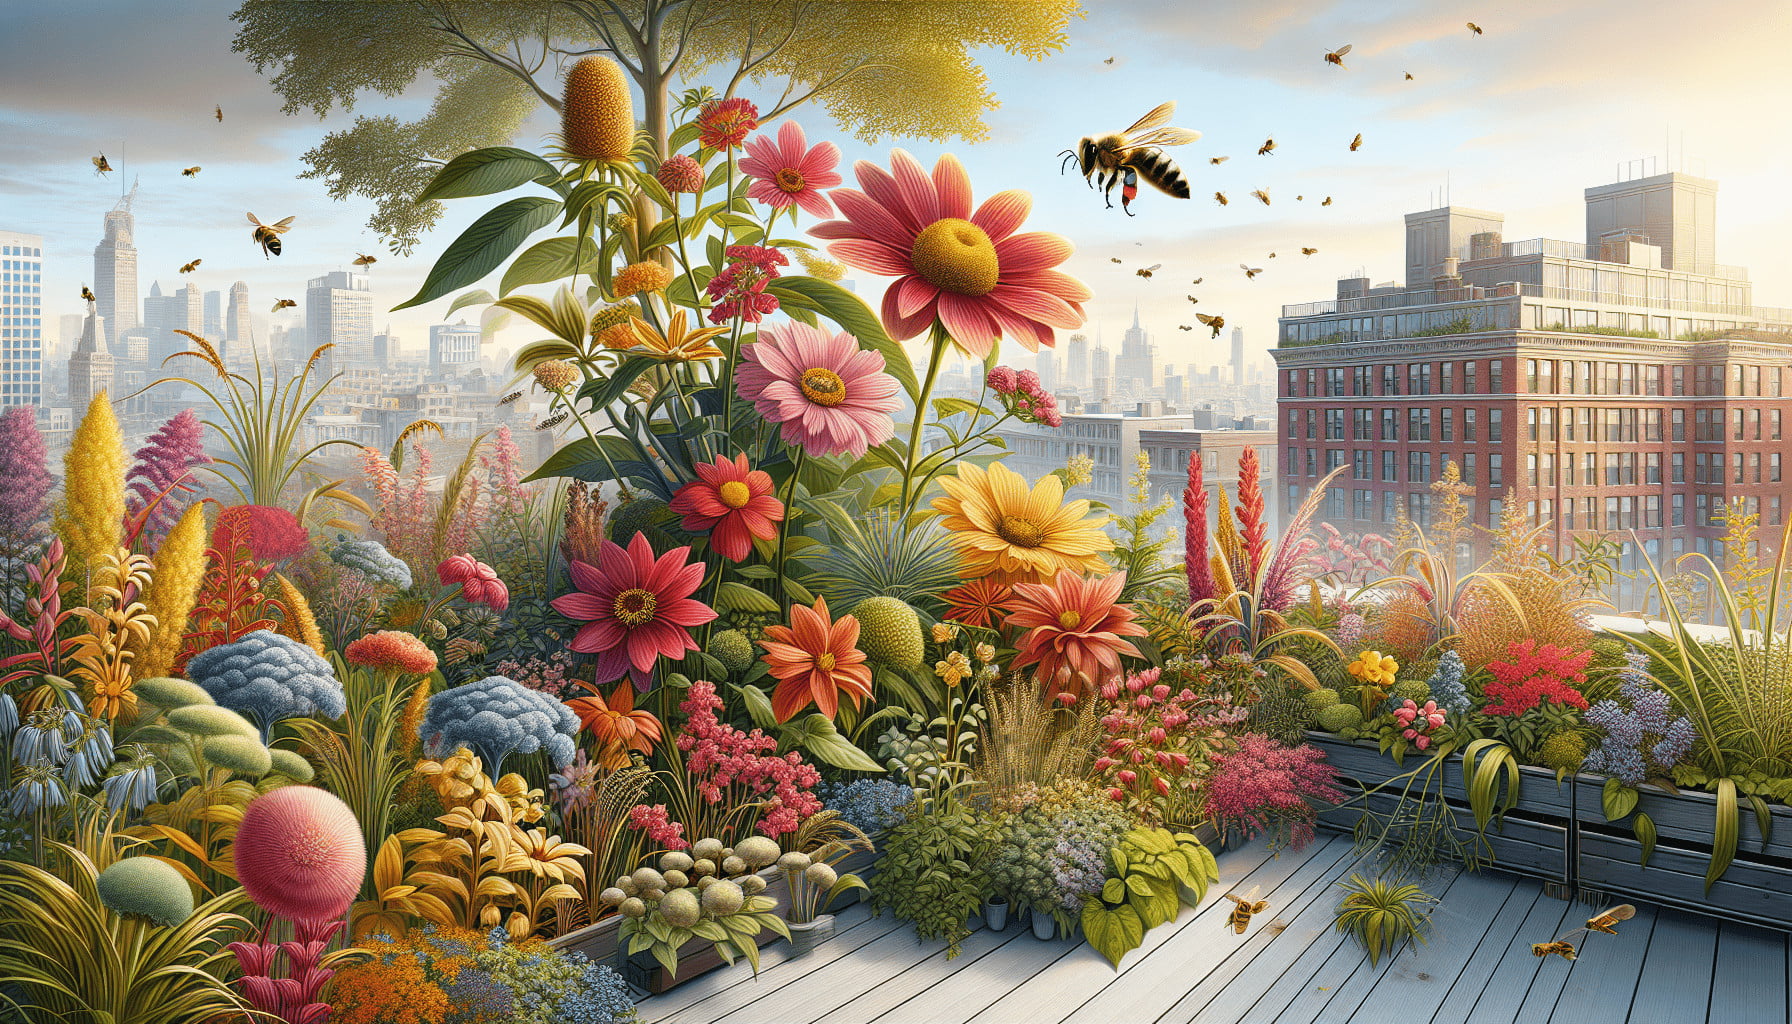
Have you ever thought about transforming your rooftop into a vibrant sanctuary for pollinators, all while enhancing the beauty and ecological function of your urban space? Creating a pollinator-friendly rooftop garden is both rewarding and essential for the environment. Pollinators like bees, butterflies, and birds play a crucial role in maintaining biodiversity and ensuring the reproduction of flowering plants.
Transforming your rooftop can seem like a daunting task, but by breaking it down into manageable steps, you’ll find it’s not only doable but thoroughly enjoyable. Here’s a comprehensive guide to help you create a pollinator-friendly rooftop garden with ease.

Step 1: Assess Your Space and Plan Your Garden
Understanding the unique characteristics of your rooftop will set the foundation for a successful garden. This crucial step involves evaluating the available space, sunlight exposure, and structural capacity of your rooftop.
Evaluate the Structural Capacity
Before adding plants and soil, it’s important to know how much weight your rooftop can support. Consult a structural engineer to evaluate the load-bearing capacity of your building. Rooftop gardens can be quite heavy, especially when wet, so it’s vital to have an expert assessment to avoid any structural issues.
| Consideration | Reason |
|---|---|
| Structural analysis | Ensures building can support load |
| Waterproofing | Prevents damage to roof structure |
Understand Sunlight Exposure
Different plants have varying light requirements. Assess how much sunlight your rooftop receives throughout the day. This will help in selecting the right plants for your garden. Use a sunlight exposure chart to map out the light availability in different sections of your rooftop.
| Light Level | Hours of Sunlight | Suitable Plants |
|---|---|---|
| Full sun | 6+ hours of direct sunlight daily | Sunflowers, Lavender, Sedum |
| Partial sun | 3-6 hours of direct sunlight | Thyme, Salvia, Coreopsis |
| Shade | Less than 3 hours of direct sunlight | Ferns, Hostas, Bleeding Heart |
Plan Your Garden Layout
Once you’ve noted the structural feasibility and light exposure, it’s time to sketch out your garden layout. Decide where the plants, pathways, and seating areas will go. Ensure that your design allows for easy access to all plants for watering and maintenance.
Step 2: Select Native and Pollinator-Friendly Plants
Choosing the right plants is critical for attracting pollinators. Native plants are particularly beneficial because they’ve co-evolved with local pollinators and thrive in your specific climate and soil conditions.
Importance of Native Plants
Native plants require less maintenance and provide the best resources for local pollinators. They are already adapted to the local climate, soil, and organisms, thus offering a natural solution for sustainable gardening.
Types of Pollinator-Friendly Plants
Choose a mix of plants that bloom at different times of the year to provide continuous resources for pollinators. Below are some native and beneficial plants you can consider:
| Season | Plants | Pollinators Attracted |
|---|---|---|
| Spring | Phlox, Bee Balm | Bees, Butterflies, Hummingbirds |
| Summer | Coneflower, Black-eyed Susan, Sunflower | Bees, Butterflies, Birds |
| Fall | Asters, Goldenrod | Bees, Butterflies, Birds |
| Year-Round | Herbs (Thyme, Basil, Oregano) | Various Pollinators |
Companion Planting
Practicing companion planting can enhance pollinator attraction and help manage pests. For instance, planting marigolds alongside tomatoes can deter pests and attract beneficial insects.
Step 3: Install Containers and Soil
The choice of containers and soil mix can make a significant difference to the health of your rooftop garden.
Select the Right Containers
Opt for lightweight, durable containers that can withstand weather changes. Consider using recycled materials like large plastic tubs or DIY wooden planters. Ensure they have drainage holes to prevent waterlogging.
Prepare the Ideal Soil Mix
A good soil mix provides the necessary nutrients and ensures proper drainage. Mix garden soil with compost and perlite to create a lightweight yet nutrient-rich medium. This mix helps retain moisture while draining excess water efficiently.
Layering Technique
Consider employing a layering technique in your containers for optimal plant health. Start with a layer of small stones or broken pottery at the bottom for drainage, followed by a layer of horticultural charcoal to prevent odor, and then your soil mix.
| Layer | Material | Purpose |
|---|---|---|
| Bottom | Small stones/broken pottery | Drainage |
| Middle | Horticultural charcoal | Odor prevention |
| Top | Soil mix | Nutrient supply and plant support |
Step 4: Provide Water and Nutrients
Ensuring your plants are adequately watered and fed is vital for their growth and the sustenance of pollinators.
Watering Systems
Considering the weight and accessibility issues of rooftops, automated watering systems like drip irrigation or self-watering containers can be very beneficial.
Water-Conserving Tips
- Mulching: Applying mulch can help retain moisture and reduce the frequency of watering.
- Rainwater Harvesting: Install rain barrels to collect and use rainwater for your garden, which is more sustainable and reduces reliance on tap water.
Fertilization
Regularly replenishing soil nutrients is essential. Use organic fertilizers like compost or worm castings, which release nutrients slowly and improve soil health. Avoid chemical fertilizers as they can harm pollinators.
Soil Testing
Periodically testing your soil can ensure it has the right pH and nutrient balance. You can get a soil testing kit from a garden center or send samples to a lab for more detailed analysis.

Step 5: Create Habitats and Maintain Your Garden
To make your rooftop garden truly welcoming for pollinators, consider providing additional habitats and maintaining the garden consistently.
Install Pollinator Habitats
Provide nesting areas and habitats for various pollinators:
- Bee Hotels: Install bee hotels made from hollow reeds or bamboo to create nesting sites for solitary bees.
- Butterfly Houses: Butterfly houses can offer protection from the wind and elements.
- Bird Baths: A shallow birdbath can provide hydration for birds and insects alike.
Regular Maintenance
Consistent care and maintenance will ensure your garden remains healthy and attractive to pollinators:
- Deadheading Flowers: Removing spent flowers encourages more blooms and extend the flowering season.
- Pruning and Trimming: Regular trimming keeps plants healthy and prevents overcrowding.
- Weeding: Keep weeds under control to reduce competition for resources.
Pest Management
Opt for pest management strategies that are safe for pollinators. Natural predators, like ladybugs, can help control pest populations. Avoid using broad-spectrum pesticides which can harm beneficial insects.
Monitor and Adapt
Regularly monitoring your garden allows you to make necessary adjustments. Observe which plants attract the most pollinators and consider adding more of those. Adapt your care routines based on seasonal changes and plant health observations.
Conclusion
Creating a pollinator-friendly rooftop garden might seem like a big undertaking, but by breaking it down into these manageable steps, it’s quite achievable and immensely rewarding. Not only will you be contributing to the conservation of vital pollinators, but you’ll also enjoy a green oasis in the heart of the urban landscape. By assessing your space, selecting the right plants, installing suitable containers, providing necessary water and nutrients, and maintaining habitats, you’ll create a thriving garden that attracts a variety of pollinators all year round. Happy gardening!
